High Clarity

Learn how to apply this abstract photo effect with Photoshop CS3. Your photos will have a high impact look and stronger focus.
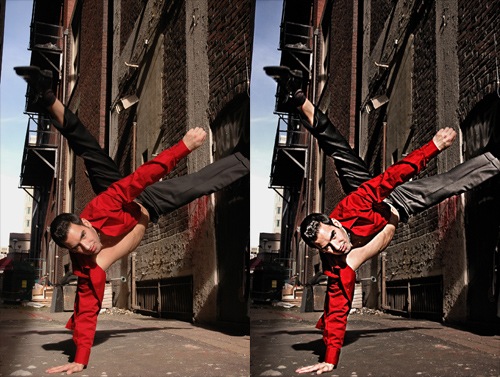
Preview of Final Results

High Clarity Photoshop Tutorial
Step 1
Open an image into Photoshop. This effect works best for portraits rather than landscapes.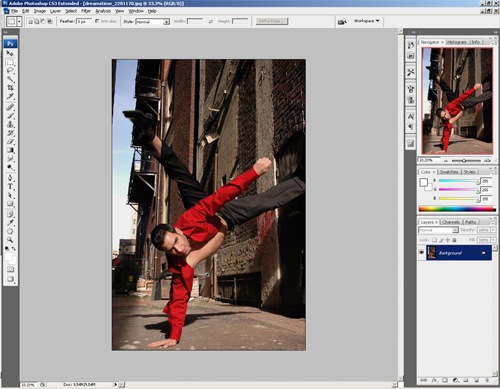
Step 2
First, to practice non-destructive editing, we'll convert the layer to a Smart Object. Doing this will allow us to use Smart Filters that let you change the filter settings at any time.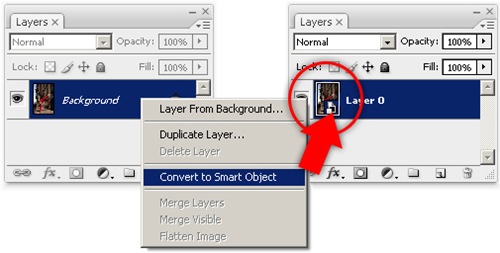
Step 3
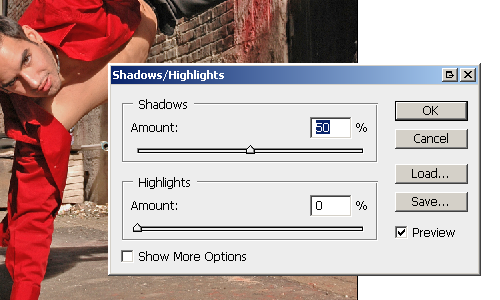
Choose image > Adjustments > Shadows/Highlights. Adjust the Shadows slider to about 50% so that theshadows are more visible.
Step 4
Now we are going to add a harsh lighting photo effect. In the Layers palette, click on the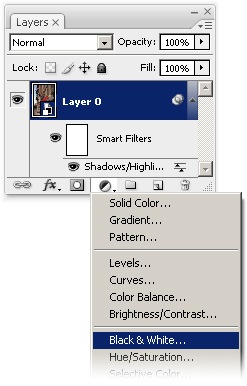
In the Black & White settings, click on Auto then click OK.
Step 5
Change the blending mode of the Black & White adjustment layer to Overlay. You should now get a high-contrast photo effect.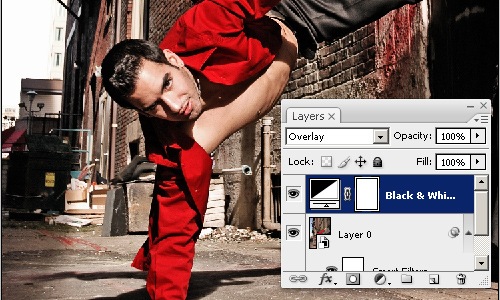
Step 6
Duplicate Layer 0. To do this, select Layer 0 then press Ctrl+J or choose Layer > Duplicate Layer.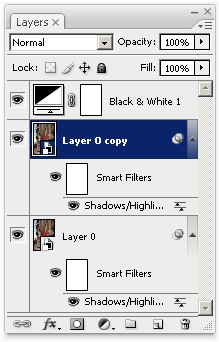
Step 7
Select the new layer (Layer 0 copy) then choose Filter > Sharpen > Smart Sharpen. With the Smart Sharpen tool, we'll increase the local contrast to make the edges look very sharp. Set the Amount to 100% then adjust the Radius setting until you start to see very slight halos around the edges. Read our Local Contrast Photoshop tutorial for more information about this technique.
This is what the image looks like after increasing the local contrast with the Smart Sharpen tool.

Step 8
Add a blank layer mask to the current layer. To do this, choose Layer > Layer Mask > Hide All.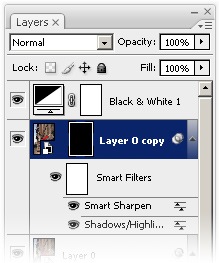
Step 9
Step 10
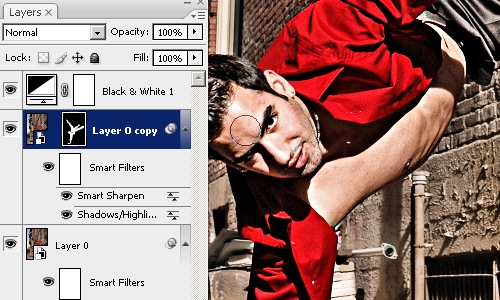
Hold the Ctrl key and click on the layer mask thumbnail in the Layers palette. This should create a selection based on the layer mask.
With the selection activated, click on the
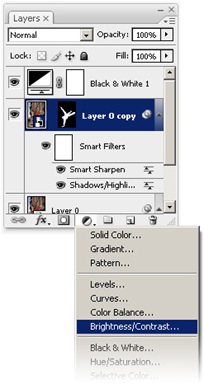
Step 11
In the Brightness/Contrast settings, set the Brightness to -50 then click OK.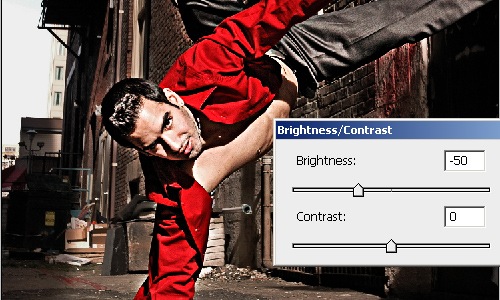
Final Results
Here's the final results of this photo effect. If you didn't do a good job painting the layer mask earlier, you can use the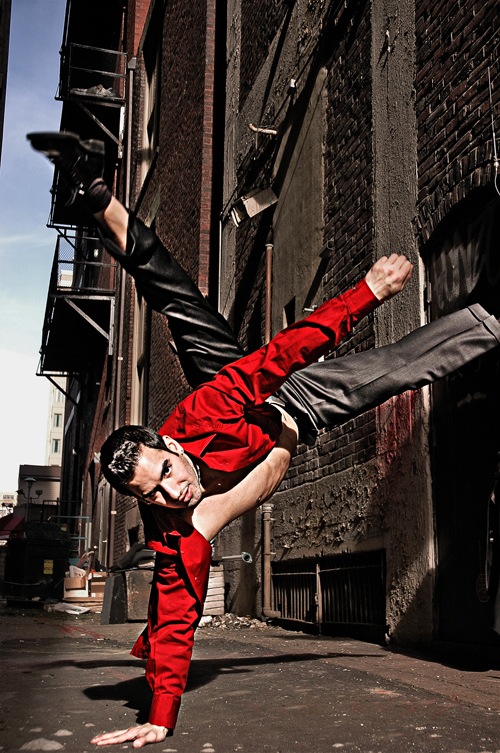
Before and after:
100% crop:
posted by Ervin Usman at
2:34 PM
![]()


0 Comments:
Post a Comment
Subscribe to Post Comments [Atom]
<< Home